\contentspageHow to make a game like Pong with Felgo - GameWindow, Scenes and Physical Worlds
Tutorial Chapters
-
Overview
-
Creation of a Felgo game
-
GameWindow, Scenes and Physical Worlds
-
The Level and the Ball
-
Level Boundaries
-
Paddles
-
HUD
-
Menus
-
AI
-
Special Effects
-
Music and Sound
-
Further Perspectives
GameWindow, Scenes and Physical Worlds
When finished the last step, the main.qml file is opened and you can run the application. If you do not see the Hello World screen or any other errors occur you should go through the last steps until the example works before
you continue. You can remove the Scene and all its child objects. Only the GameWindow should remain. In debug mode on desktops, you can see a FPS display in the left bottom corner of the
window which shows you the frame rate. It won't be displayed in release mode when building with the build server. If still needed for testing, you can enable it also in release mode with
displayFpsEnabled: true
Afterwards your main.qml should contain following code:
import Felgo 4.0
import QtQuick 2.0
GameWindow {
id: window
screenWidth: 480*2
screenHeight: 320*2
displayFpsEnabled: true
}
Presenting game content is similar to theater. The view and everything which can be seen is presented in the Scene. You can change the Scene and everything you see in your view will change automatically. In Felgo everything
can be split into different scenes. Each window can have several scenes. Only one active at the time. You could have one Scene for the intro, the main menu, for each submenu, the credit screen or the actual game. Therefore, you
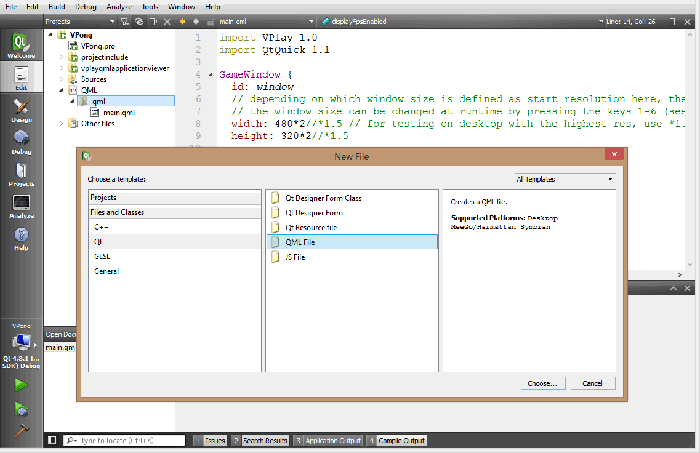
can add a new Scene using the context menu in your qml directory for creating a new qml file called VPongScene.
Remove the Rectangle created in the VPongScene.qml and replace it with the Scene item seen below. The Scene has a logical width and height which should be
independent of the actual size of the display which is store in the GameWindow. This is important if you want to create a game for different devices using different display sizes. Very
common size would be a size of 480x320. For an explanation on how you can support multiple screens and resolutions see How to create mobile games for different screen sizes and
resolutions
import QtQuick 2.0
import Felgo 4.0
Scene {
id: scene
width: 480
height: 320
}
Now you have created a Scene template which needs to be placed in the GameWindow. Open main.qml and add a new Scene Item to the GameWindow.
...
displayFpsEnabled: true
VPongScene {
id: scene
}
...
In this game you will use the Felgo PhysicsWorld to simulate the game world. Therefore, the whole game world, placed in this Scene is driven by physics. This means a PhysicsWorld item needs to be added in the Scene.qml which allows collision detection and more.
...
width: 480
height: 320
PhysicsWorld {
id: physicsWorld
z: 1
updatesPerSecondForPhysics: 60
velocityIterations: 5
positionIterations: 5
}
...


