Create a new Project
To create a new project, select Projects → New Project in the Welcome tab of Qt Creator or from the File menu.
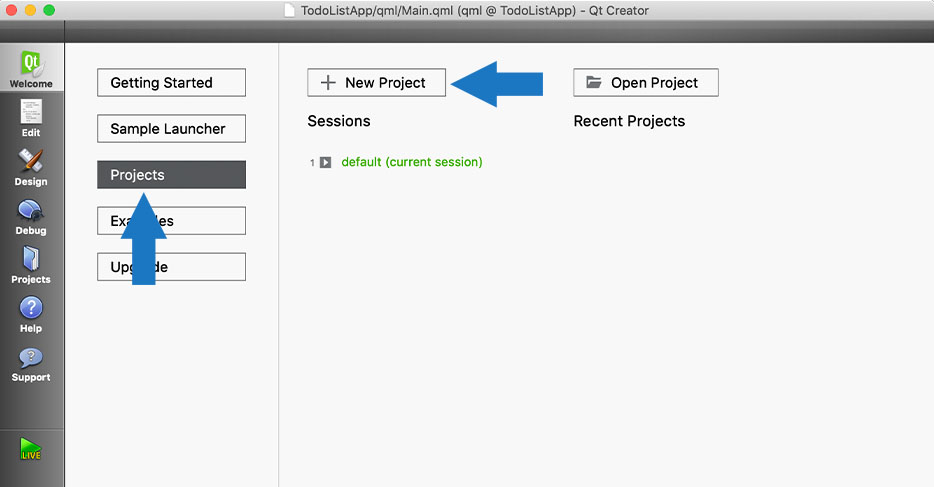
Follow the next 5 steps to create and run a new project:
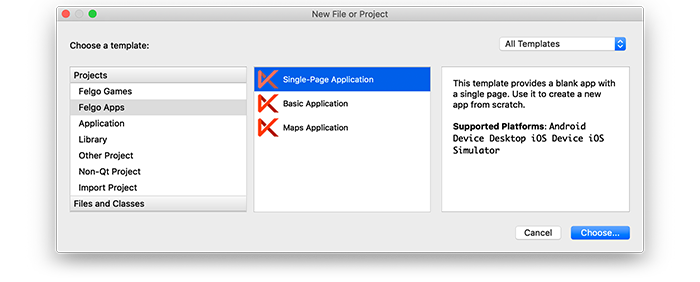
Choose Template
Felgo offers several templates for different game genres and app types as a starting point.
For a new gaming project select the Felgo Games option in the left column.
For a new app project select the Felgo Apps option in the left column.
Choose a new Single-Page Application wizard for an empty app or select a wizard that matches your project.
Project Name and Location
On the following screen specify a project name and the location.
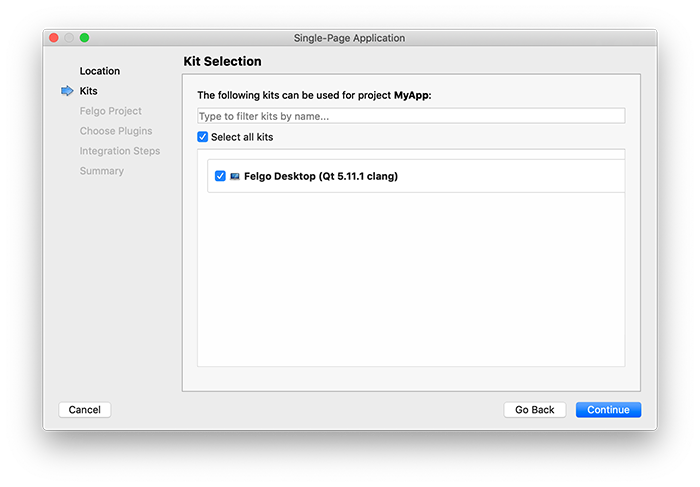
Kit Selection
Qt Creator groups settings used for building and running projects as so-called kits in order to make deployment to different platforms easier. These kits define environments like the target platform, compilers, Qt versions
and devices.
The initial Felgo installation only includes the kit for your current Desktop system to make the download as small as possible. That's the reason why you only see one Desktop kit in the list for now:
Note: You can add other kits for deploying to Android, iOS or other platforms later on. You can find more information in our deployment guide.
App Configuration
The next page asks for some additional information about your new game or app:
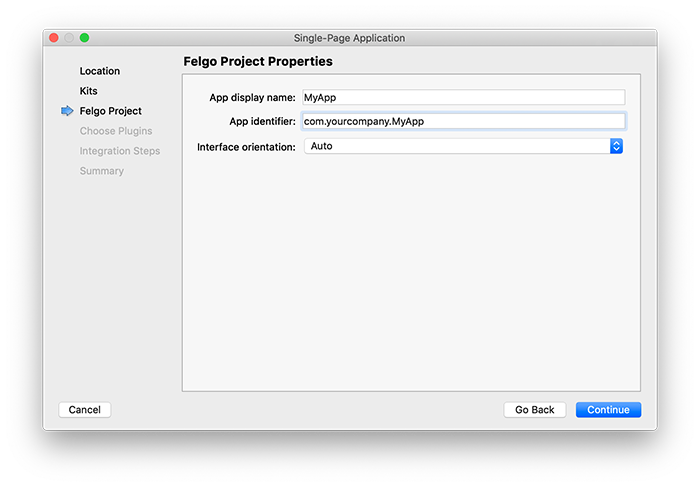
- App display name: Enter a name that should be displayed on the home-screen of your mobile app or as title of your desktop app.
- App identifier: A unique name used for the bundle identifier on iOS and as package name on Android. It may contain uppercase or lowercase letters ('A' through 'Z'), numbers and periods ("."), however individual
identifier name parts may only start with letters. To avoid conflicts with other developers, you should use Internet domain ownership as the basis for your package names (in reverse; e.g.
com.felgo.example.game).
- Interface orientation: Choose whether your app or game should be in landscape mode, portrait mode or should automatically rotate depending on the device orientation.
Note: You can change that information later on at any time.
Choose Plugins
For each wizard, you also have the option to add demo integrations for Felgo Plugins Documentation as well. If you already know you want to include a plugin, this will save a little time
with required plugin integration steps.
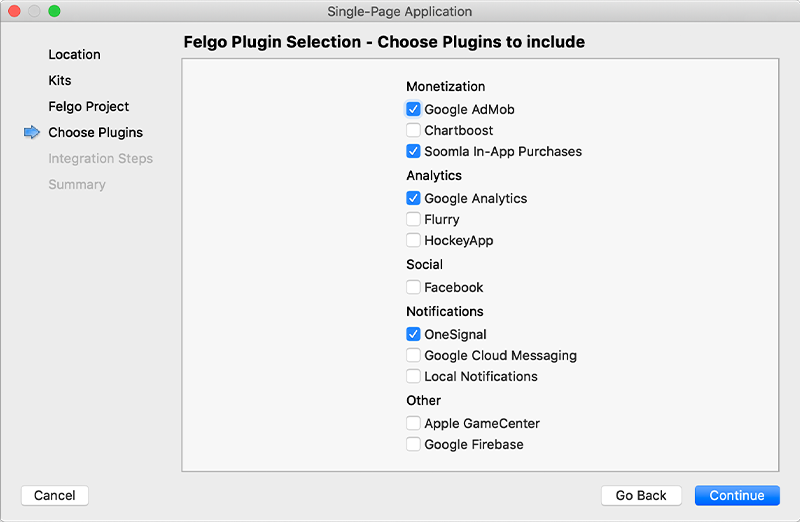
With this selection, your project is configured with all plugin dependencies for Android & iOS. This includes:
- Setting up the
.gradle file for Android.
- Setting up the
.plist file for iOS.
- Setting up the
.pro file to include the plugin libraries for iOS.
Note: Additional integration steps are still required for most plugins, for example to add the actual plugin libraries for iOS to your project. Please have a look at the integration steps described in the plugin documentation of each plugin.
Run the Project
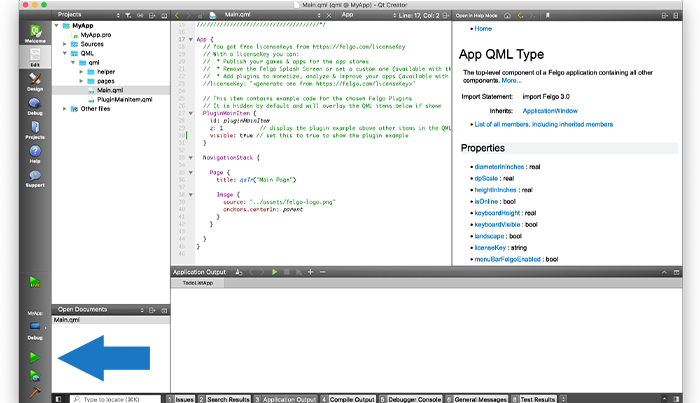
As a last step the project wizard shows a summary about your new project, after selecting the Done button your new project gets created and you see the main entry point (Main.qml) in the editor.
Finally click the green triangle ("Play") button in the left bottom corner of Qt Creator to run your project.